How to extract data from emails to Excel with MS Power Automate
- Ilia Zelenkin

- Aug 23, 2023
- 2 min read
In this guide, we will show you how to extract data from emails received in Outlook and transfer it to an Excel file using Bitskout and Microsoft Power Automate. This can be helpful for organizing unstructured data from emails, such as travel requests, into a more structured format.
Video Instruction
Step 1. Configuring Bitskout
To set up the extraction from emails, let's create a new plugin by clicking Create Plugin. In the plugin creation screen that appears choose the Extract option and then From Text.

Bitskout works based on examples. You will see the screen where you can start adding the examples.

Step 2. Setting up Examples
Collect a few real examples of emails that contain the information you want to extract. You need only a few examples. Paste the email text into the text area:

Step 3. Define the fields to extract
Identify the specific fields you want to extract from the email examples. Then add them with their respective values from the example.

You can add more examples however no need to add a lot of similar ones. Two or three similar examples should be enough. Once finished, press Create button. The plugin will be created, no need to select any apps here.

Step 4: Set up Microsoft Power Automate
Create a new flow in Microsoft Power Automate and name it (e.g., "Trip Requests").

Choose "When a new email arrives" as the trigger and configure any necessary filters. Add a new step choosing Bitskout connector.

In Plugin ID select the email parsing plugin you created earlier.

Select the email body as the text source for extraction.

Step 3: JSON module
Now, let's run a test to check if everything is working correctly. We will also need an output from our plugin to setup the JSON module. Send an email to your mailbox to test the flow.

Once the test is complete, copy the "outputs" by clicking on it and pressing Ctrl+C.
Step 8: Parse the JSON Output
Click on Edit in the top right corner to exit the test and add a "Parse JSON" action. Microsoft Power Automate needs to know what kind of information it will receive from the Bitskout plugin. Then click on "Generate from Sample" and paste the output there:

Step 4: Write Data in Excel
Add a new step in Power Automate to create a row in Excel.

Select the Excel file and table where you want to store the extracted data. Map the extracted fields to the appropriate columns in Excel.
Step 4: Test and Run the Flow
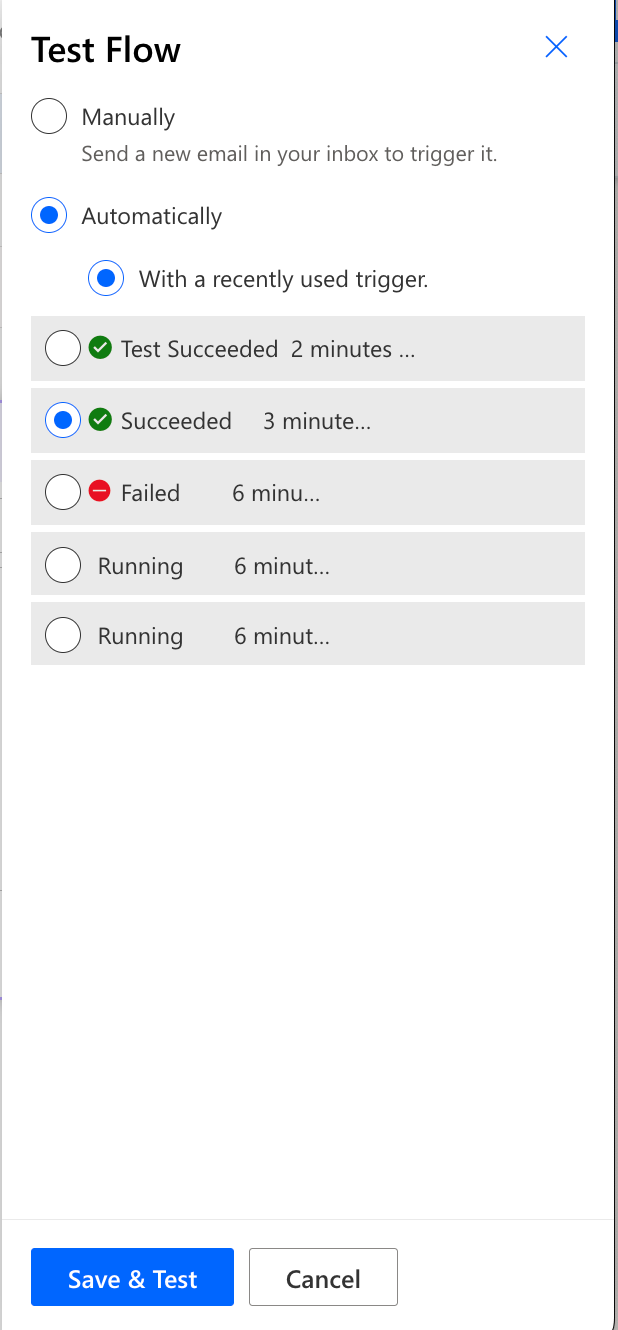
Now you can run the flow to test your setup. You don't need to send the email once again, simply, choose Automatic and then the Recently Used trigger.

Conclusion
By following these steps, you can effectively set up data extraction from emails in Outlook and transfer it to an Excel file for better organization and analysis.
You can change triggers or other steps. For instance, you can use the same flow and add MS Dynamics instead of Excel to write data to.

Comments